Creating custom embroidery designs is easier and more accessible than ever thanks to tools like Inkscape and the Ink/Stitch extension. Whether you’re a hobbyist or an aspiring textile artist, the ability to digitize your own graphics transforms the way you bring creativity to fabric. One of the most effective ways to start designing custom embroidery is by turning a bitmap image—such as a scanned sketch or a simple logo—into a stitched design. This guide will walk you through every step of taking a traced bitmap and converting it into a ready-to-stitch Ink/Stitch embroidery design.
Why Use Ink/Stitch?
Ink/Stitch is a free, open-source extension for Inkscape that allows users to design embroidery files using vector graphics. It’s compatible with many commercial and hobby-class embroidery machines and supports a variety of stitch types, parameters, and previews. Its integration with Inkscape means you get powerful vector design tools along with the flexibility to control how those shapes translate into stitch patterns.
Step 1: Prepare Your Bitmap Image
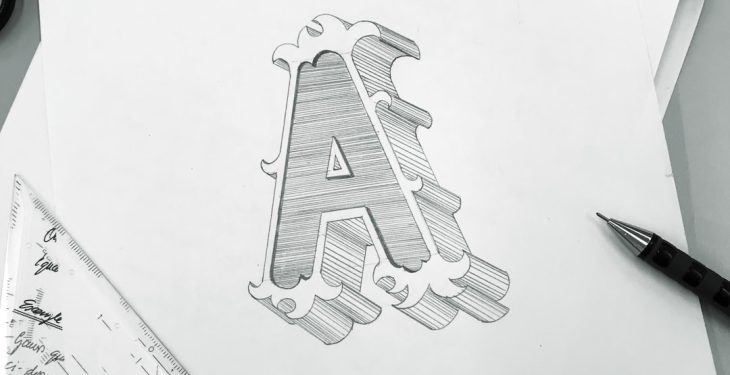
The first step is choosing a bitmap image (JPG, PNG, BMP) to trace. For best results, select a clean, high-contrast image. Simple black-and-white sketches work wonderfully, but you can also use more complex graphics if you’re ready to refine the design later.
- Open Inkscape and import your bitmap image using File → Import.
- Scale and position the image as needed on your canvas.
- Lock the layer to prevent accidentally moving the bitmap during tracing.
Step 2: Trace Bitmap to Vector
Now that your bitmap image is in Inkscape, you’ll need to convert it into a vector graphic so that Ink/Stitch can use it to generate stitches. This is accomplished through the Trace Bitmap function:
- Select the bitmap image.
- Go to Path → Trace Bitmap.
- Choose your tracing method. For simple black-and-white images, Brightness cutoff or Edge detection usually work well.
- Adjust the threshold value until you like the preview.
- Click OK and close the dialog.
This will give you a new vector object that’s stacked on top of your bitmap. Move it aside and delete the original bitmap to keep your workspace clean.
Step 3: Clean the Vector Paths
Traced images can generate unnecessary nodes and artifacts, so cleaning up is crucial:
- Use the Node Tool (N) to simplify paths and remove or merge errant nodes.
- Ensure that shapes are closed if you intend to use fill stitches.
- Check for any overlapping paths that might cause undesirable stitching during embroidery.
The cleaner your vector paths, the more efficient and accurate the final embroidery file will be. If possible, reduce the number of nodes to create smoother stitch paths and less thread breakage in the final piece.
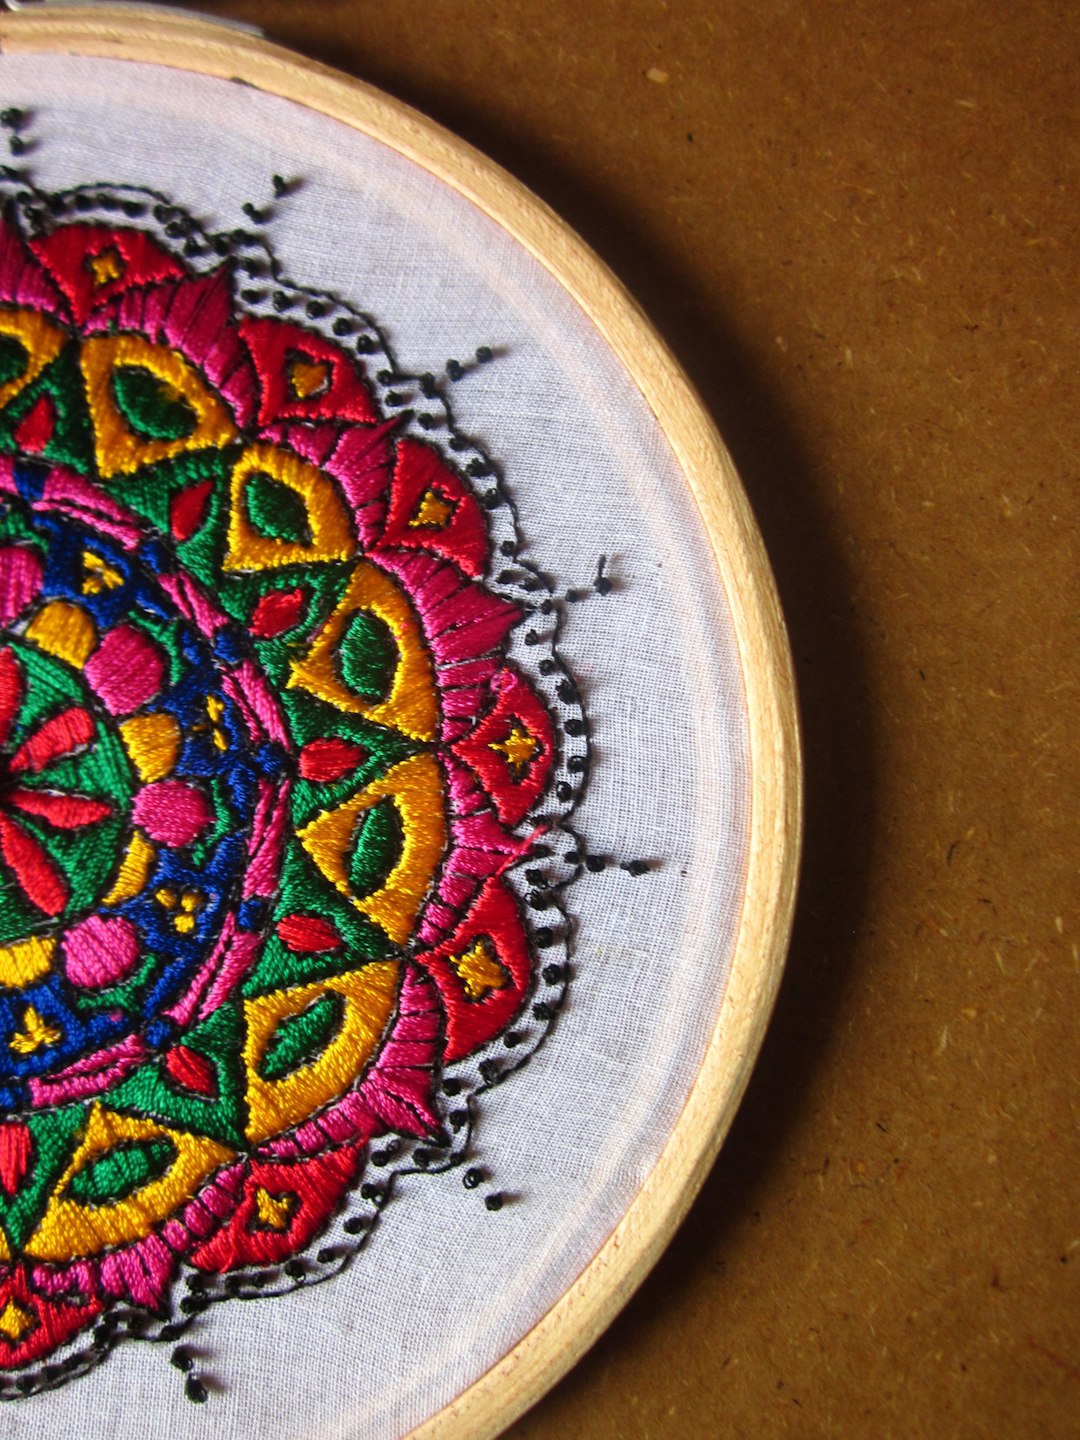
Step 4: Assign Stitch Types
Ink/Stitch supports a wide range of stitch types, including fill stitches, satins, and running stitches. Once you’ve cleaned your paths, it’s time to assign how each shape will be stitched.
First, install the Ink/Stitch extension if you haven’t already. Visit the official Ink/Stitch website to download and follow their installation guide.
With the extension installed:
- Select a shape using the Select Tool.
- Go to Extensions → Ink/Stitch → Params.
- In the dialog box, choose your parameters. For example:
- Satin Column for borders and text
- Fill Stitch for larger solid shapes
- Running Stitch for outlines
- Adjust stitch length, angle, and underlay type as needed.
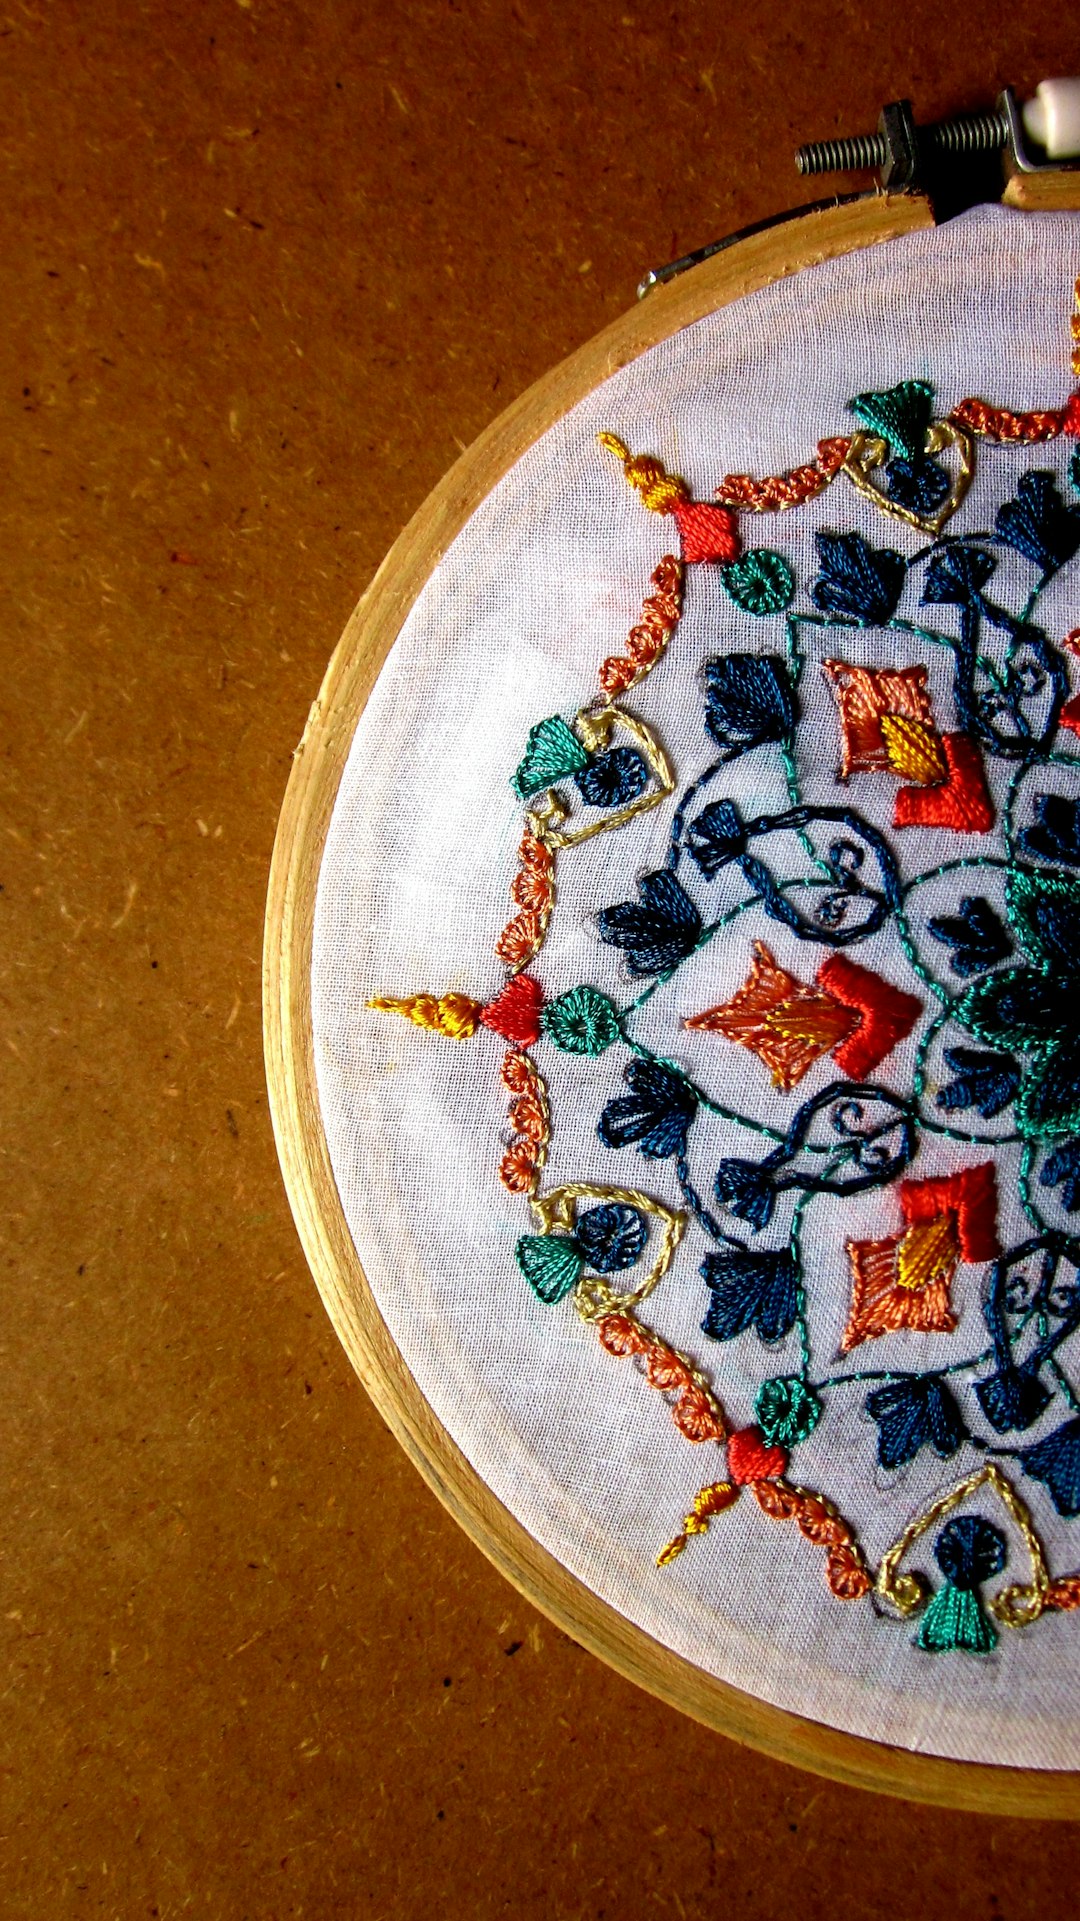
Step 5: Layer and Order Your Stitches
Embroidery machines stitch object by object in the order they appear in the design. It is essential to set the right stitch sequence to prevent misalignment and ensure fabric stability.
Tips for ordering stitches:
- Start with background fills and build toward detail elements.
- Use lock stitches and underlays to secure layers properly.
- Group stitch areas based on color to minimize color changes.
Use Extensions → Ink/Stitch → Simulate to preview the stitching sequence in action. This step can reveal issues like overlapping stitches or missing fills that are easier to correct before exporting.
Step 6: Preview and Simulate Your Design
After assigning all your stitch types and ensuring objects are in proper order, it’s time to preview the results:
- Select the entire design.
- Open Extensions → Ink/Stitch → Visualize & Export → Simulator.
This simulator will step through each stitch, showing how your machine will sew the design. Pay close attention to stitch density and direction—overly tight stitches can cause puckering, while poorly aligned angles can reduce design clarity.
Step 7: Export to Embroidery File
Once confident in your design, you can export it to your machine’s supported file format. Ink/Stitch supports several popular embroidery file types, including DST, PES, JEF, EXP, and more.
To export:
- Select your whole design.
- Go to File → Save As, and choose a format under the Embroidery Extensions.
- Name your file and save it to a USB drive, SD card, or directly to your machine if connected.
Step 8: Test Stitch on Fabric
Congrats! You now have a custom embroidery design ready to try. But don’t jump into production just yet—testing your design is a crucial final step. Use a similar fabric and stabilizer to what you’ll be using in your final piece.
Watch your embroidery machine carefully during the first run, looking out for:
- Thread breaks or skipped stitches
- Misaligned layers
- Unintended gaps or overlaps
If needed, go back to Inkscape and adjust stitch densities or sequencing. A few tests may be required to get a perfect final result, especially if your design is complex.
Tips for Better Designs
Even once you’ve mastered the workflow, better results often come from these subtle techniques:
- Use Color Layers: Different thread colors in your design? Use layers or groups to organize.
- Limit Stitch Density: Less is often more—high density can damage delicate fabric.
- Use Underlays: They stabilize fabric and improve top-stitch quality.
- Study Existing Designs: Analyze commercial embroidery files using free viewers to learn techniques.
Conclusion
Turning a bitmap into a beautiful, functional embroidery file isn’t just a technical process—it’s an art form. By combining Inkscape’s powerful vector tools with Ink/Stitch’s flexible embroidery features, you can bring your creativity from paper to thread in a truly personalized way. Whether it’s for fashion, branding, or artwork, your custom design journey starts with that very first trace.
Take your time, experiment, and don’t be afraid of a little trial and error—the stitching possibilities are endless!