Adding a VHS overlay in iMovie is one of the most effective ways to give your footage a nostalgic, analog aesthetic. Whether you are producing a retro music video, a documentary flashback, or nostalgic social media content, the VHS effect creates instant atmosphere and emotional depth. While iMovie does not include a built-in VHS filter, you can achieve this look using overlays, blending modes, filters, and subtle adjustments.
TLDR: You can add a convincing VHS overlay in iMovie by importing a VHS effect video, placing it above your footage, and adjusting blending modes or using the green/blue screen tool. Fine-tune the look with built-in filters, color adjustments, distortion effects, and sound design. Although iMovie lacks a one-click VHS filter, it is fully capable of delivering a professional, retro result with the right steps. This guide walks you through the process in detail.
Understanding the VHS Look
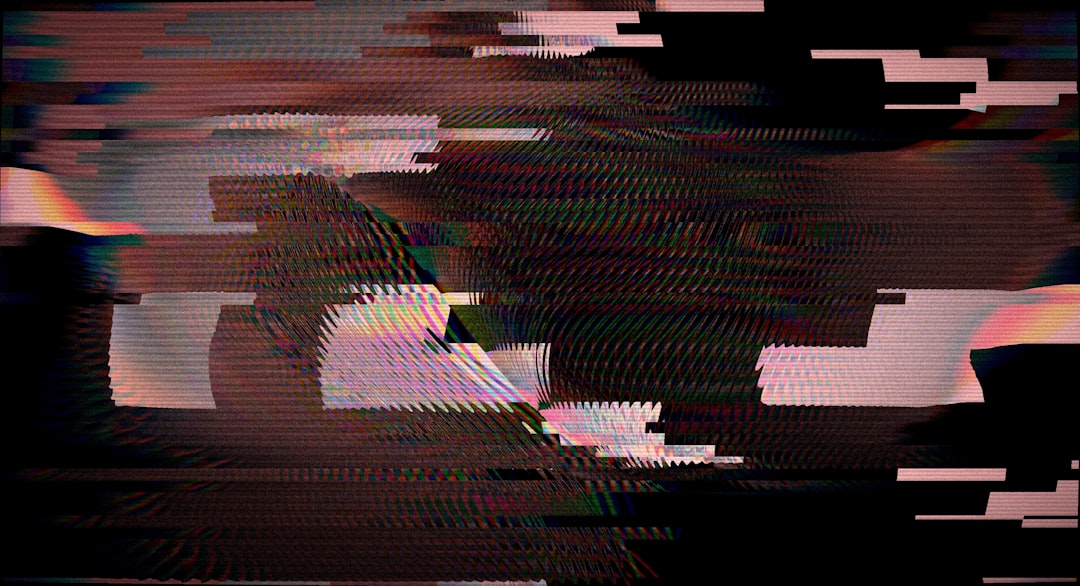
Before jumping into the technical steps, it is important to understand what defines a VHS aesthetic. VHS footage from the 1980s and 1990s typically includes:
- Soft focus and reduced sharpness
- Color bleeding and limited dynamic range
- Tracking lines and static noise
- Date and timestamp overlays
- Subtle distortion and flicker
- Grain and analog noise
Recreating these characteristics inside iMovie requires combining multiple adjustments rather than relying on a single filter.
Step 1: Obtain a VHS Overlay
Since iMovie does not offer a built-in VHS overlay effect, the first step is to acquire one. You can find high-quality VHS overlays on:
- Stock video marketplaces
- Free video asset websites
- Creative commons video libraries
- Professional motion graphics platforms
Search for terms such as VHS overlay, VHS static, analog glitch, or retro tape effect. Ensure the file is in MP4 or MOV format for smooth compatibility with iMovie.
Download the overlay and save it to a folder that is easily accessible for your project.
Step 2: Import Your Files into iMovie
Open iMovie and create a new project. Then:
- Click Import Media.
- Select your main video footage.
- Select the VHS overlay file.
- Drag your primary footage to the timeline.
Once your base video is placed on the timeline, drag the VHS overlay above it so it appears as a second layer.
Step 3: Apply the Overlay Using Cutaway or Green Screen
Click on the overlay clip in the timeline. You will see video overlay settings appear above the preview window.
From the overlay dropdown menu, select one of the following options:
- Cutaway – Good for full frame overlays with transparency baked in.
- Green/Blue Screen – Best if your overlay uses black or colored backgrounds.
If your VHS overlay has a black background with white static lines, choose Green/Blue Screen and use the eraser controls to remove the background selectively.
Adjust:
- Strength
- Clean Up
- Softness
Fine-tune these settings until only the static, distortion, or tape artifacts remain visible over your main footage.
Step 4: Reduce Opacity for Realism
A convincing VHS effect should be subtle. Instead of allowing the overlay to overpower your footage, reduce its opacity for a more natural blend.
Within the overlay controls:
- Lower opacity to between 20 percent and 50 percent.
- Preview your video frequently to assess balance.
Subtlety is critical. Overuse makes footage appear artificial rather than authentically analog.
Step 5: Add iMovie Filters for Additional VHS Character
To enhance the effect further, apply built-in iMovie filters to your base footage.
Select your main clip and explore filter options such as:
- Blockbuster (lower intensity for warmth)
- Vintage
- Classic
- Muted
Then manually adjust:
- Contrast – Slightly reduce
- Saturation – Lower moderately
- Highlights – Reduce
- Shadows – Slightly lift
This recreates the flatter color profile of analog VHS recordings.
Step 6: Add Timestamp or Retro Typography
Many VHS recordings include a date stamp in the corner. Adding this subtle detail dramatically increases authenticity.
To add a timestamp:
- Open the Titles panel.
- Select a simple lower corner title.
- Edit the text to a typical VHS format, such as:
12.07.1994 18:42 PM
Keep fonts simple and avoid modern typography. Basic sans-serif styles work best.
Step 7: Introduce Distortion and Camera Shake
True VHS recordings often include mild warping or movement instability.
In iMovie, you can simulate this by:
- Using slight crop and zoom adjustments
- Manually keyframing small movements
- Adding short glitch overlays on cuts
Use these effects sparingly. Excessive distortion can distract from the narrative rather than enhance it.
Step 8: Enhance with VHS Audio Effects
Visual treatment alone is insufficient. Authentic VHS presentation includes subtle audio artifacts.
Consider adding:
- Low-level tape hiss
- Soft white noise
- Audio muffling via EQ reduction
In iMovie, select the audio track and:
- Reduce high frequencies
- Slightly compress dynamic range
- Add faint background noise at low volume
This final layer dramatically improves realism.
Best Tools for Creating VHS Effects (Optional Enhancements)
Although iMovie can achieve solid VHS results, some tools offer faster workflows or more advanced controls.
| Tool | Ease of Use | Built in VHS Presets | Best For | Price Range |
|---|---|---|---|---|
| iMovie | Very Easy | No | Beginner projects | Free |
| Final Cut Pro | Moderate | With plugins | Professional editing | Premium |
| Premiere Pro | Advanced | With presets | Commercial production | Subscription |
| Mobile VHS Apps | Very Easy | Yes | Social media content | Low cost |
For many users, iMovie remains sufficient when combined with quality overlays.
Common Mistakes to Avoid
- Overlaying too much static
- Leaving modern color correction intact
- Using high resolution text fonts
- Ignoring audio authenticity
Professional-looking VHS effects are restrained and intentional. The goal is immersion, not exaggeration.
Export Settings for Maximum Impact
To maintain the retro appearance:
- Export in 1080p rather than 4K
- Avoid excessive sharpening during export
- Keep bitrate moderate
Interestingly, slightly lower resolution can enhance authenticity when distributing VHS-style content online.
Final Thoughts
Adding a VHS overlay in iMovie is entirely achievable with a structured approach. By layering a quality overlay, fine-tuning blending modes, adjusting color and contrast, simulating distortion, and incorporating appropriate sound design, you can convincingly replicate the analog warmth of vintage tape footage. While iMovie does not offer a built-in VHS preset, its tools are flexible enough to produce reliable and professional results.
Approach the process thoughtfully, prioritize subtlety, and focus on balancing visual noise with storytelling clarity. When executed correctly, a VHS effect does more than add nostalgia — it reinforces mood, era, and emotional connection within your project.