
Artificial intelligence has made it possible for anyone to place themselves inside stunning digital artwork, cinematic scenes, fantasy worlds, and professional portraits—without ever stepping into a studio. From social media avatars to business branding and creative storytelling, AI image generators are transforming how people visualize themselves. The process may seem complex at first, but with the right tools and techniques, it becomes surprisingly accessible.
TLDR: Adding yourself into an AI image generator involves uploading clear reference photos, training or prompting the AI effectively, and refining outputs through edits and iterations. Users can either use tools that support face uploads or train custom AI models for highly accurate results. The quality of the final image depends heavily on lighting, angles, and prompt descriptions. With care and experimentation, anyone can create realistic or stylized AI versions of themselves.
Understanding How AI Image Generators Work
AI image generators rely on deep learning models trained on massive datasets of images. These systems learn patterns related to faces, body shapes, lighting, artistic styles, and environments. When a person uploads their photo or describes themselves in a prompt, the AI uses learned patterns to generate a new image based on that input.
There are generally two ways someone can add themselves into an AI image generator:
- Photo-based blending: Uploading selfies or portraits that the platform transforms into new styles.
- Model training or fine-tuning: Feeding multiple photos into the system so it learns the user’s facial structure and appearance.
The first option is faster and more beginner-friendly. The second offers significantly more control and realism but may require more time and technical skill.
Step 1: Choose the Right AI Tool
Not all AI image generators allow personalized face integration. Some are designed purely for text-to-image generation, while others support image uploads or custom model training.
Below is a comparison of popular tools commonly used to add oneself into AI-generated art:
| Tool | Ease of Use | Supports Photo Upload | Custom Model Training | Best For |
|---|---|---|---|---|
| Midjourney | Moderate | Limited reference support | No native training | Artistic and stylized portraits |
| DALL·E | Beginner-friendly | Yes | No | Quick creative edits |
| Stable Diffusion | Advanced | Yes | Yes | Highly personalized models |
| Leonardo AI | Moderate | Yes | Yes | Creative avatars and gaming art |
| Artbreeder | Beginner-friendly | Yes | Limited | Face blending and stylization |
Someone seeking quick results may prefer user-friendly platforms. Those wanting hyper-realistic outputs may need tools offering training capabilities, such as Stable Diffusion with DreamBooth or LoRA models.
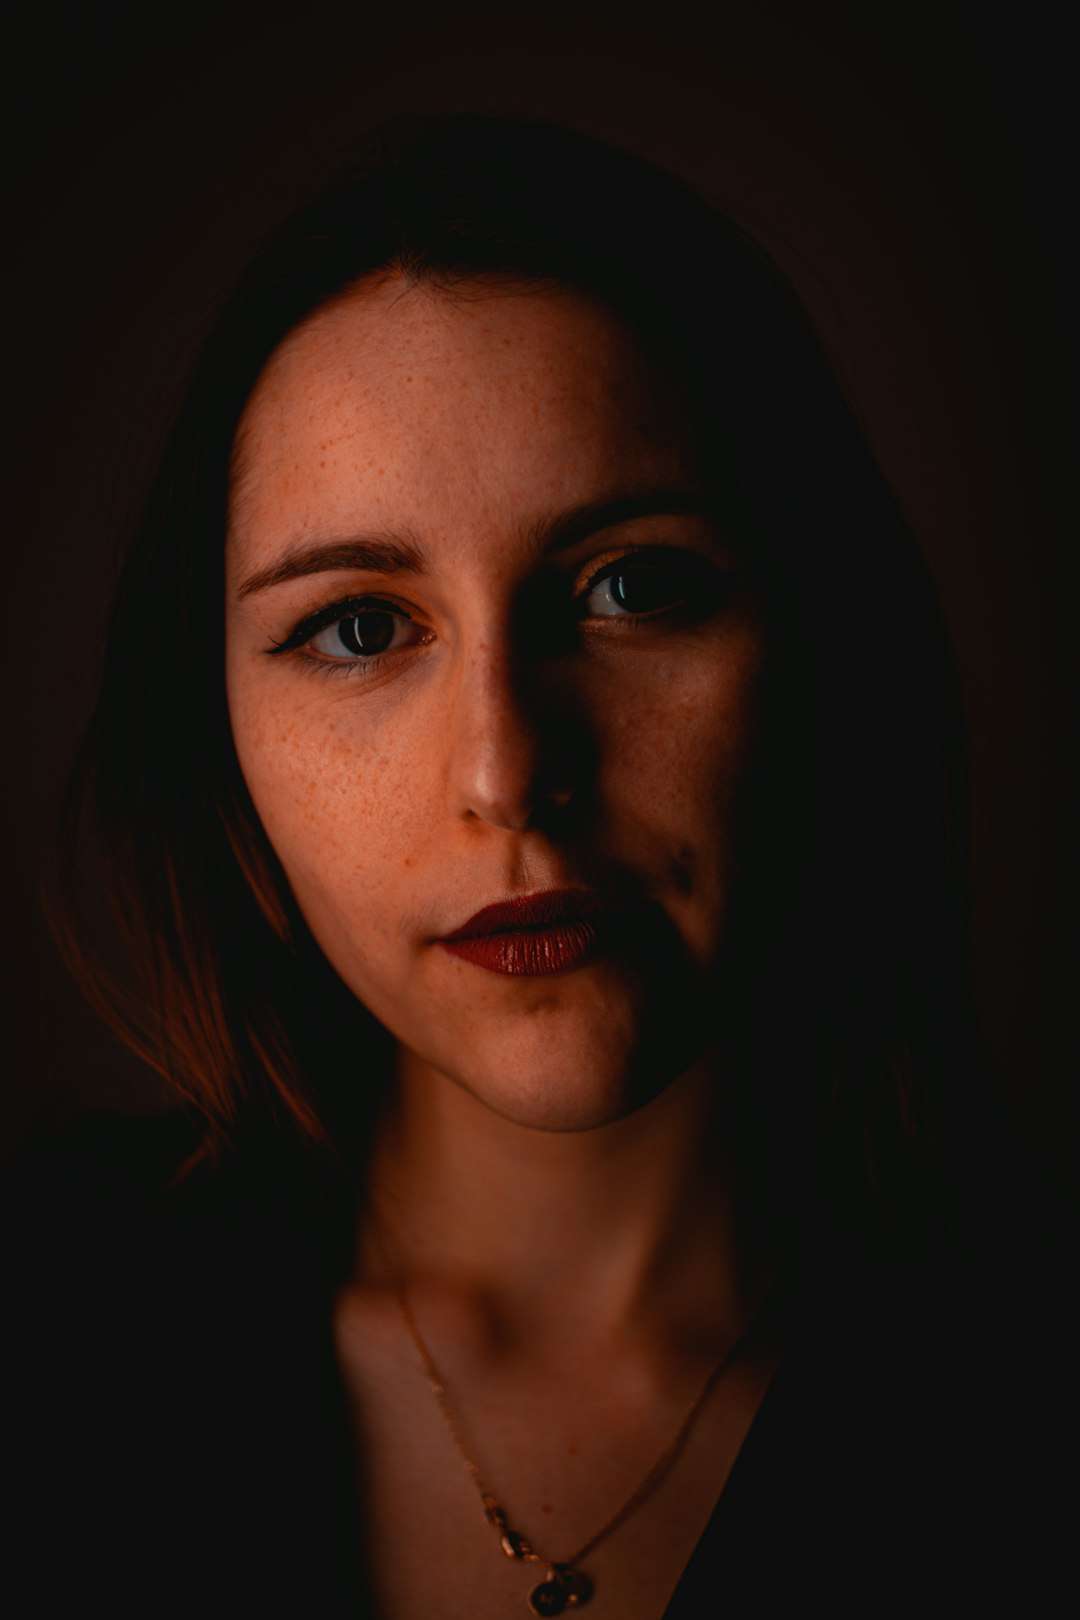
Step 2: Take the Right Photos
The quality of AI-generated images largely depends on the photos provided. Clear, well-lit photos dramatically improve results.
Best practices for source photos:
- Use bright, natural lighting.
- Avoid heavy filters or dramatic shadows.
- Include multiple angles (front, side, three-quarter).
- Keep facial expressions neutral and natural.
- Use plain backgrounds when possible.
If training a model, most platforms recommend between 10 to 25 images. Variety helps the AI understand facial structure, skin tone, and subtle details.
Step 3: Upload or Train the AI Model
Depending on the chosen tool, the next step involves either uploading a photo directly or training a dedicated AI model.
For quick transformations:
A user can simply upload a single image and apply style prompts such as “cyberpunk hero,” “renaissance painting,” or “studio corporate headshot.”
For advanced personalization:
They may train a model using technologies like DreamBooth. This allows the AI to associate a unique keyword (for example, a nickname) with their face. After training, prompts such as “portrait of AlexHero as a medieval knight” generate images closely resembling them.
Training may take anywhere from 20 minutes to several hours depending on computing resources.
Step 4: Write Detailed Prompts
Even the best-trained AI requires strong descriptive prompts. A vague request leads to generic results, while specificity increases realism and accuracy.
Weak prompt example:
“Me as a superhero.”
Stronger prompt example:
“Photorealistic portrait of me as a futuristic superhero, glowing blue armor, cinematic lighting, city skyline at night, ultra high resolution, dramatic pose.”
Descriptive elements to include:
- Lighting style (soft light, golden hour, studio light)
- Art style (photorealistic, anime, oil painting)
- Camera details (portrait lens, depth of field)
- Mood or emotion
- Clothing and environment
Layering these details guides the AI toward producing images that look intentional rather than random.
Step 5: Refine and Edit the Output
AI image generation often involves experimentation. Rarely does the first output appear perfect. Users should generate multiple variations and refine prompts gradually.
Many tools offer editing features such as:
- Inpainting: Adjusting specific regions of an image.
- Outpainting: Expanding the canvas beyond original borders.
- Face correction: Fixing distorted features.
- Upscaling: Increasing image resolution.
Small prompt changes—such as adjusting lighting descriptions or adding camera focus—can significantly improve results.
Common Challenges and How to Solve Them
1. The face does not look like the user.
Solution: Provide more varied images or increase training steps. Avoid photos with sunglasses or heavy makeup.
2. The image looks distorted.
Solution: Use higher resolution settings or apply facial restoration tools.
3. The AI changes ethnicity or age.
Solution: Explicitly describe skin tone, age range, and facial characteristics in prompts.
4. Inconsistent results across generations.
Solution: Reuse similar seed numbers if the platform allows it or keep prompt structure consistent.
Creative Ways to Use AI Versions of Yourself
Once someone successfully integrates themselves into an AI generator, the creative possibilities expand dramatically.
- Professional LinkedIn headshots
- Fantasy character artwork
- Gaming avatars
- Personalized book covers
- Holiday greeting cards
- YouTube channel branding
Entrepreneurs use AI portraits for marketing content. Writers create visual versions of themselves as story protagonists. Content creators design consistent branded imagery without expensive photoshoots.
Privacy and Ethical Considerations
Uploading images to AI platforms always raises privacy concerns. Before proceeding, users should review platform data policies.
Important considerations:
- Does the platform store uploaded photos?
- Are images reused for model training?
- Can users request deletion of their data?
- Is commercial usage permitted?
Additionally, users should avoid uploading photos of others without permission. Ethical AI use ensures both privacy and respect for digital identity.
Is Model Training Worth It?
For casual experiments, direct uploads are sufficient. However, individuals seeking consistent character representation—such as content creators or influencers—benefit significantly from model training.
Advantages of training:
- More accurate facial replication
- High consistency across different scenes
- Reusable digital identity
- Greater stylistic flexibility
The trade-off includes time investment and potential costs for computing resources. Ultimately, the decision depends on how frequently the user plans to generate AI-based images of themselves.
The Future of Personalized AI Imaging
As technology evolves, adding oneself into AI image generators will become even easier. Real-time AI avatars, video generation, and 3D modeling are already emerging. Soon, individuals may create entire virtual personas that interact dynamically online.
What once required professional designers can now be achieved from a laptop or smartphone. The democratization of digital self-representation is reshaping online identity, creativity, and branding.
Frequently Asked Questions (FAQ)
1. Do I need technical skills to add myself into an AI image generator?
No. Many platforms offer beginner-friendly interfaces. Advanced customization may require more technical knowledge, but basic transformations are accessible to most users.
2. How many photos should be uploaded for best results?
For simple edits, one high-quality image may suffice. For model training, 10–25 diverse images are typically recommended.
3. Can AI generators create realistic professional headshots?
Yes. With good lighting in source photos and detailed prompts, AI can generate highly realistic corporate-style portraits.
4. Is it safe to upload personal photos?
Safety depends on the platform. Users should carefully review privacy policies and choose reputable services.
5. Why doesn’t the AI image look exactly like me?
This may result from insufficient training data, poor lighting in source photos, or vague prompts. Adding more images or refining the prompt usually improves resemblance.
6. Can I use AI-generated images of myself commercially?
It depends on the platform’s license terms. Many tools allow commercial usage, but users should confirm before publishing.
7. What is the easiest tool for beginners?
Platforms with built-in upload and editing features, such as DALL·E or Artbreeder, are generally easier for first-time users.
By understanding how AI image generators process visual data and applying structured prompts with quality source material, anyone can successfully add themselves into imaginative and professional digital artwork. With patience and experimentation, AI becomes not just a tool—but a personalized creative partner.