Flipping an image for printing is a vital step in ensuring that your final output looks correct—especially in cases like iron-on transfers, screen printing, and vinyl cutting. An image that has not been properly mirrored or flipped may appear backward once transferred, leading to waste of materials and time. Knowing how to flip an image properly is crucial to achieving professional-looking results.
This guide outlines the methods and reasons for flipping an image prior to printing. Whether you’re preparing a graphic for a t-shirt, mug, or signage, understanding this process will help you avoid common errors and produce more accurate results.
Why Flipping an Image Is Important
When printing with certain processes—such as heat transfer vinyl (HTV) or inkjet iron-on transfers—you’re actually printing the mirror image of your design. This is because the image will be flipped again during the application process when it is transferred to the end material.
For example, if you’re printing a design containing text onto a t-shirt using a heat press, and you don’t flip the text, it will appear backward on the final garment. That is why mirroring is an essential preparatory step.

Situations in Which You Must Flip an Image
- Heat transfer printing: Flip for iron-on transfers, especially on textiles
- Vinyl cutting: Flip if cutting vinyl to reverse and transfer onto surfaces
- Screen printing: Occasionally needed when creating screens for transfer methods
However, not all printing methods require flipping. For regular inkjet or laser printing on paper, keeping the image in its original orientation is often correct. Be sure to confirm the requirements of your specific technique or consult your printer’s documentation.
How to Flip an Image
There are several ways you can flip an image, depending on the software you’re using. Below is a breakdown of how to do this in popular applications:
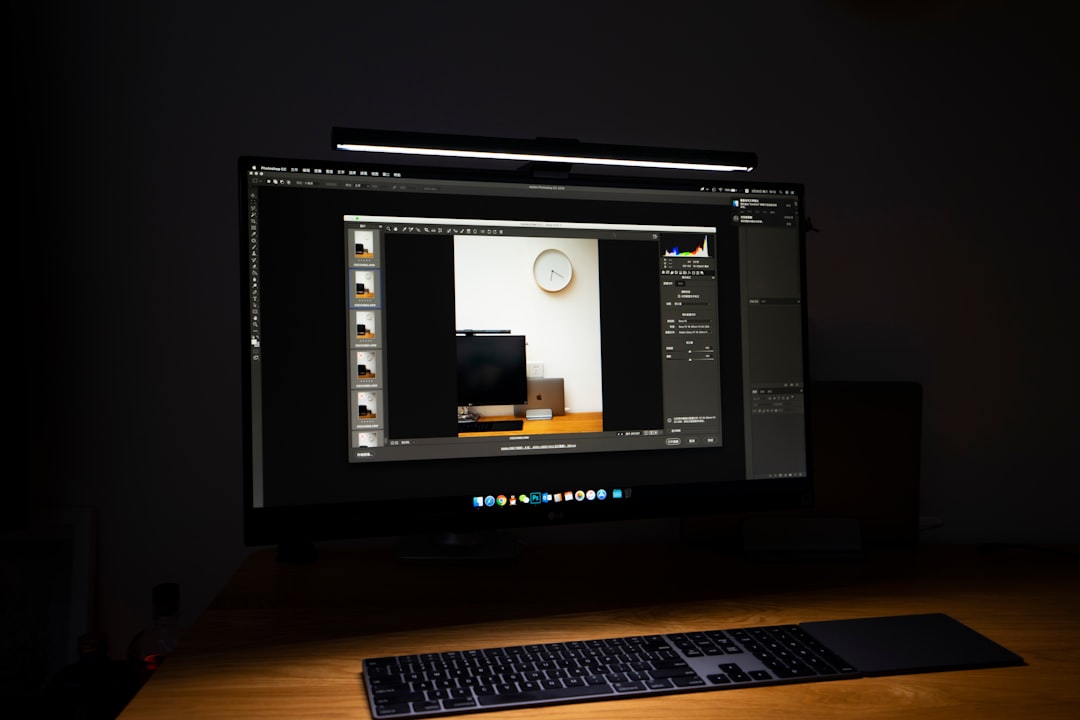
1. Adobe Photoshop
- Open the image in Photoshop.
- Go to Image > Image Rotation > Flip Canvas Horizontal.
- Save the file as a new copy to avoid overwriting the original.
2. Microsoft Word
- Insert the image into your document.
- Click on the image to select it.
- Go to the Format tab, click Rotate > Flip Horizontal.
3. Online Tools
If you’re not using professional image editing software, several reliable online tools allow you to flip images for free. Platforms like Canva, Photopea, and Pixlr offer quick mirroring of images, though always verify the resolution and quality before printing.

Tips for Preparing a Flipped Image
To ensure quality and accuracy, follow these best practices before printing the flipped image:
- Check Resolution: Make sure the image is high resolution (300 dpi or more for print).
- Use Transparent Backgrounds: When applicable, use PNG with transparent backgrounds to avoid printing undesired backgrounds.
- Preview Before Printing: Most printer dialogs allow you to preview the final output. Use this preview to double-check the orientation.
- Remember Text: Text is the most obvious error if unflipped. Always proofread mirrored text carefully.
Printer Settings to Look For
Some modern printers come with built-in mirroring options. Look in your printer settings before starting the job. This can be found under names like:
- Mirror Image
- Reverse Print
- Flip Horizontally
Bear in mind that relying solely on printer settings may not always produce consistent results, so manual image flipping remains the most reliable method.

Final Thoughts
Flipping an image for printing is a simple yet critical task that can save you from costly and frustrating mistakes. Whether you’re an artist, designer, or hobbyist, taking care to prepare your designs correctly will ensure high-quality and professional-looking results.
Always understand the printing process you’re working with, use appropriate tools to flip your design, and double-check everything before pressing that print button. When it comes to flipping images, preparation really is everything.
