Windows Movie Maker was once the go-to video editing software for many beginners and casual users. Although it has been discontinued by Microsoft, many users still rely on it thanks to its simplicity, ease of use, and availability on older Windows systems. One common concern for those editing in Movie Maker is maintaining the highest possible video quality throughout the editing and exporting processes. By following a few key tips and best practices, you can use Movie Maker efficiently without sacrificing quality.
Understanding Video Quality in Movie Maker
Before diving into editing tips, it’s important to understand what affects video quality in Windows Movie Maker:
- Original Source Quality: The better your source video is, the better the final output will likely be.
- Editing Transitions: Overusing effects, transitions, or resizing can compromise clarity.
- Output Format: The quality of your saved video largely depends on the export settings you choose.
To retain the original quality, your goal should be to minimize compression, avoid unnecessary effects, and use the correct export settings.
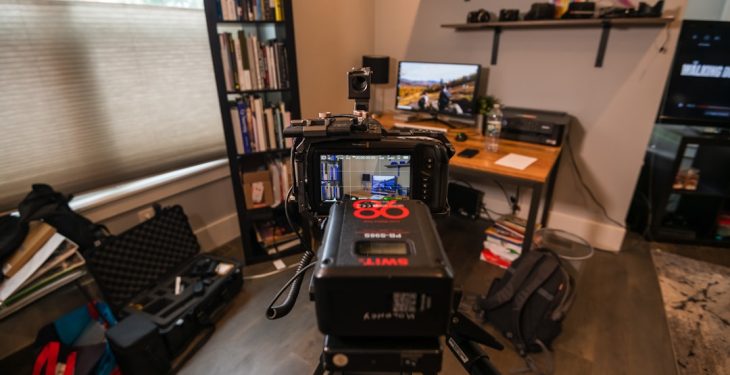
1. Use High-Quality Source Files
Everything starts with the raw footage. Make sure the videos you import into Movie Maker are already in high resolution and free from compression artifacts. If you’re starting with low-resolution or highly compressed files, there’s little you can do to improve their quality later. Video editing tools can’t add detail back into a video; they can only preserve what’s already there.
Accepted formats by Movie Maker include .WMV, .AVI, .MPG, and .MP4. Whenever possible, use .MP4 with H.264 encoding, as it generally offers good quality at a balanced file size.
2. Avoid Over-Editing
Too many transitions, effects, and filters can degrade the look of your final video. Effects often involve re-rendering or re-encoding parts of the video, and excessive use of them introduces artifacts.
Tips to avoid over-editing:
- Use simple transitions like fade-in or fade-out instead of flashy animations.
- Avoid text overlays unless they are essential.
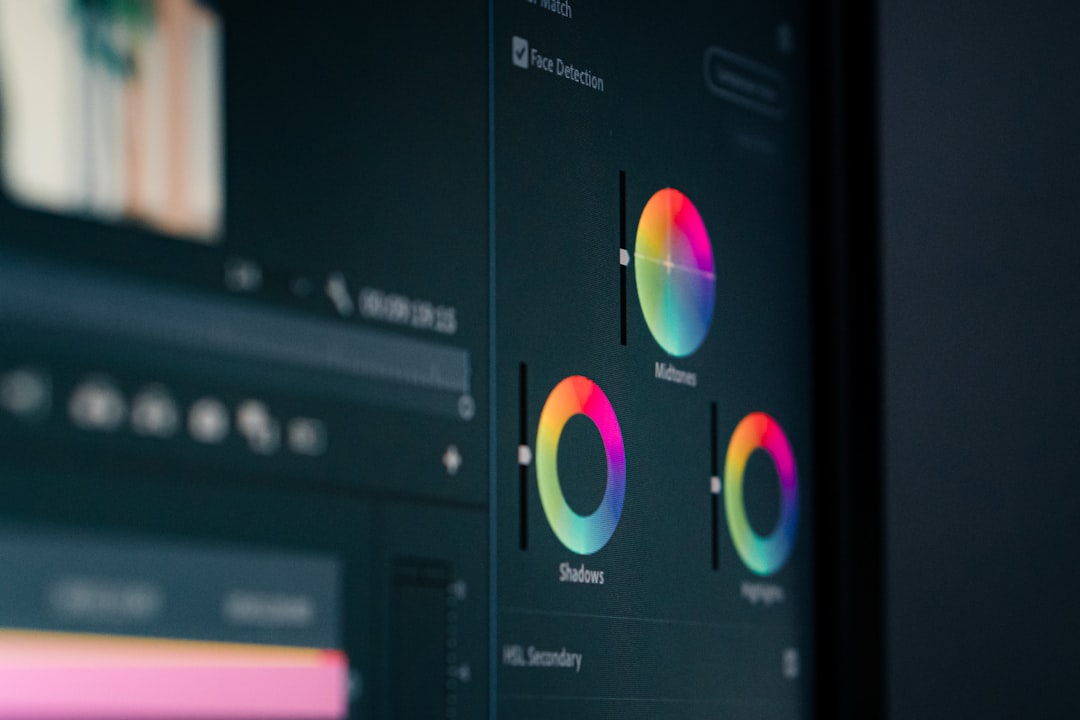
- Limit color adjustments and stick to basic contrast or brightness edits if needed.
- Don’t stretch or scale videos unless absolutely necessary as this lowers resolution clarity.
3. Use Project Settings That Match the Source Resolution
A common mistake is editing in a project setting that doesn’t match the original aspect ratio or resolution. When this happens, the software has to stretch or compress the video to fit the output frame, which leads to pixelation and blurriness.
To check or change project settings in Movie Maker:
- Go to the Project tab in the top menu.
- Choose an aspect ratio—either 16:9 or 4:3—that matches your original footage.
- Click Fit to Window for a quick preview of how the ratio appears.
Important: If your footage is shot in HD, stick to 16:9. Using 4:3 will crop or warp your video.
4. Save the Project Before Exporting
Always save your project in .MSWMM format before exporting. This lets you re-edit later without compressing the video each time. Frequent exports can cause cumulative quality loss. By keeping the project saved in its native format, you only need to export the final high-quality version at the end.
5. Export Using the Right Settings
This is probably the most crucial step in preserving video quality when using Windows Movie Maker. Movie Maker provides several presets when saving a final video, ranging from small sizes (for email) to high-definition displays.
To get the best quality, follow these steps:
- Click Save Movie (located in the upper-right toolbar).
- Select For high-definition display.
- This typically outputs in 1080p at a higher bit rate, maintaining visual fidelity.
- You can also click Create custom setting and specify:
- Resolution: 1920 x 1080 (or original resolution)
- Bit rate: 12,000 kbps or higher (for better quality)
- Frame rate: 30 fps (or match your source video)
- Format: .WMV or H.264 MP4
Avoid using lower settings like “For email” or “For computer” unless file size is a major issue. These options compress the video heavily and reduce sharpness.
6. Minimize Re-exports
Every time you import a saved video back into Movie Maker for more editing, you lose a bit more quality. Even if you use high export settings, the process usually adds compression again. To avoid this, plan your editing process carefully and try to complete all edits in one session. If additional edits are inevitable, always go back to the original .MSWMM project file instead of editing a rendered video file.
7. Consider External Conversion Tools
Although Windows Movie Maker doesn’t provide the most flexible export options, you can improve your final output by converting it externally using tools like:
- HandBrake – A free, open-source video transcoder that supports precise adjustments and higher-quality compression.
- Any Video Converter – Offers easy presets for outputting video for YouTube, devices, or archival purposes.
You can start by exporting in high-definition .WMV or .MP4, then refine the settings in one of these tools to balance size vs. fidelity more effectively without multiple re-exports from Movie Maker itself.
8. Upgrade to Third-Party Alternatives
While Movie Maker is convenient and nostalgic, it may not be the best long-term option if maintaining video quality is your top priority. Consider moving to more modern software with advanced codec support and better control, such as:
- Shotcut – Free, open-source, and beginner-friendly.
- DaVinci Resolve – Professional-grade editing with amazing quality preservation.
- HitFilm Express – Offers visual effects along with robust export controls.
Still, for lightweight projects and quick edits, Movie Maker gets the job done when handled correctly.
Final Thoughts
Preserving video quality while editing in Windows Movie Maker is all about being deliberate and cautious—both in editing workflow and export practices. While the tool has limitations, it’s still possible to produce sharp, clean videos if you:
- Begin with high-resolution source files
- Avoid excessive transitions and effects
- Match project settings to your source material
- Export using custom high-quality settings
With these strategies, you can make the most out of Windows Movie Maker and deliver crisp, polished videos without unwanted pixelation or blur.