If you’re planning to start an online store, WooCommerce should be the best solution when it comes to creating an online store. With over 4+ million active installs, a 4.6 user rating on WordPress.org makes WooCommerce great choice. And also learning how to set up WooCommerce is pretty simple and straightforward if you’re familiar with WordPress already.
Of course, you shouldn’t pick a solution simply based on popularity but according to BuiltWith, 22% of the web uses WooCommerce to power their stores. That’s followed in second by Shopify at 18% in the Top 1 Million Sites.

However, if we look at the top 10k websites, only 6% use WooCommerce, while 23% use Shopify. So it seems that Shopify is more heavily used on higher authority sites.
One huge benefit of WordPress + WooCommerce is an efficient setup of permalinks ie, “permanent links.” Online stores often have hundreds of ways plus one to display products. It can generate really inefficient, ugly, and search engine unfriendly URLs for your products and product categories.
In this article, we’ll take you from finding the perfect web host to get your first product up, in four simple steps.
An introduction to WooCommerce
WooCommerce is a free eCommerce plugin that allows you to sell anything. It built to integrate seamlessly with WordPress, WooCommerce is the world’s favorite eCommerce solution that gives both store owners and developers complete control.
With endless flexibility and access to hundreds of free and premium WordPress extensions, WooCommerce now powers 22-25% of all online stores — more than any other platform.
The platform offers almost all of the functionality you need to sell products online. If you’re looking to set up an online store on a budget, or even power a large enterprise, WooCommerce could be ideal. You can use plugins like WooCommerce Table Rate Shipping and WooCommerce Order Export to improve your business even more.
How to Set up WooCommerce in 4 Steps
You’ll love to hear that learning how to set up WooCommerce is pretty simple and straightforward. If you are on a budget and looking for an opportunity to create an online store for your products, WooCommerce is the ideal platform for you. Additionally, you can create a large e-commerce store using WooCommerce.
Ideally, you can use the platform to create an online store because the platform offers the best and most extensive e-commerce resources. Let’s take a look at how to set up WooCommerce in 4 steps.
Step 1 – Choose an affordable Hosting
The first important step in setting up WooCommerce is to get a good web hosting service for your website. You need a self-hosted or a business plan for the WordPress site in order to use WooCommerce. The platform is WordPress based and therefore needs a good WordPress hosting package for proper performance.
Since WooCommerce is a WordPress plugin, you need a web hosting company that offers the best WordPress hosting services. Security and performance are key considerations for the best WordPress experience. The two are also critical for e-commerce.
You can get some of the best WordPress hosting packages from the following hosting companies;
- InMotion
- HostGator
- A2
- Bluehost
- SiteGround
- Pressable
Every hosting company has its own pros and cons. It is therefore important to make an informed assessment of the different parameters such as pricing, security add-ons, and performance and so on. Get back for an in-depth analysis of WordPress hosting. Most of these hosting companies offer one-click WordPress installation.
Step 2 – Install WooCommerce
Once you have settled for a suitable hosting company, you can now create your store. First, you need to download and install WordPress. You can download WordPress from the WordPress repository if you are setting up your site from scratch.
As mentioned earlier, some web hosting companies like Inmotion gives you an opportunity to install WordPress using a simple script. Once you are done with setting up your WordPress site, you can go ahead to the next step of installing WooCommerce plugin.
To install WooCommerce, you need to go to the WordPress plugin repository for WooCommerce or WooCommerce official download site. As a rule of the thumb, avoid downloading plugins from unknown sources.
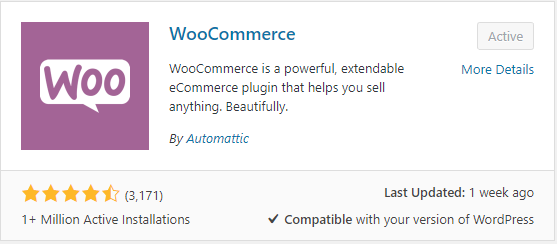
There are two ways of installing a WordPress plugin. You should go to the Install New plugin on your WordPress Dashboard. Search for the plugin, install and activate the plugin. Or you can also go straight to the WordPress plugin repository to download. Once you download, upload to your site and go back to your plugin page to activate the plugin.
Once you have installed and activated WooCommerce, the plugin will provide you with an automatic initial configuration wizard.
Automatically, the wizard will create new pages like shop, cart, checkout, and user account pages for your e-commerce store. Additionally, you will get an opportunity to configure your store’s settings including the currency you want to use for the shop, taxes, and shipping.
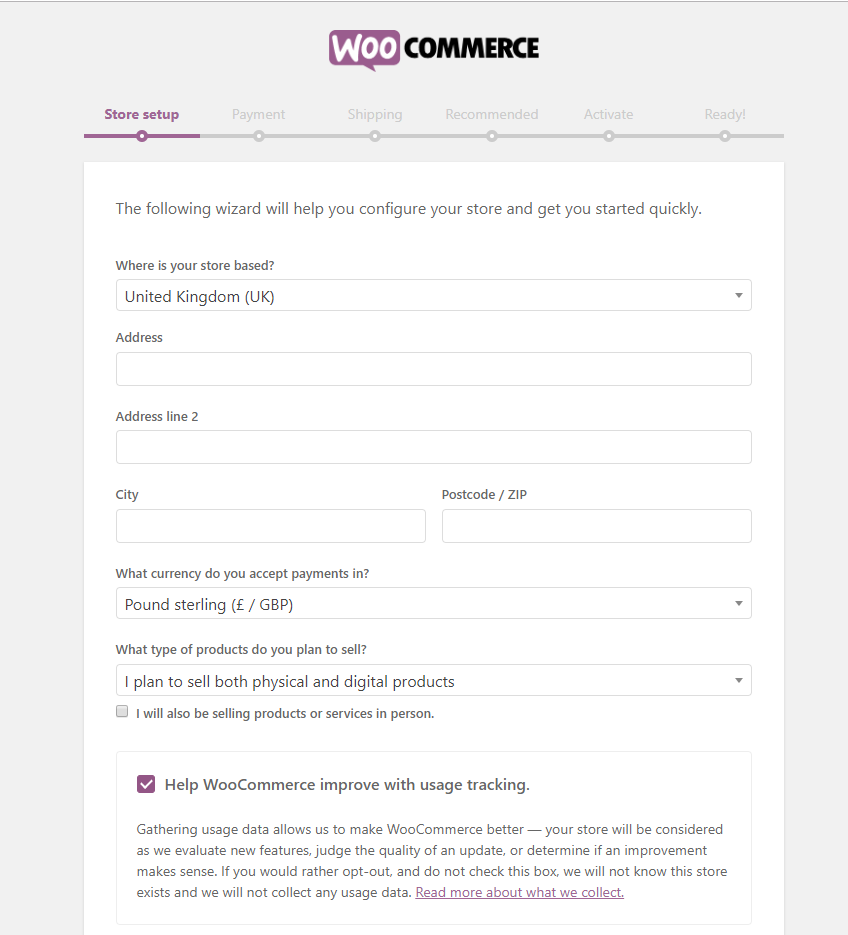
WooCommerce setup wizard includes:
- Store Setup – where you need to select which currency you gonna use, also you have to add the address, and need to select what product type do you plan to sell like physical and digital products
- Payment – WooCommerce accepts both online and offline payments. In online payments, you can enable Square, Paypal, Stripe payments
- Shipping – It has two Shipping Zones – for the United Kingdom (UK) and for the rest of the world. Here you can set Flat Rate shipping costs or offer Free Shipping.
The plugin comes with PayPal and Stripe payment gateways out-of-the-box. However, you can also integrate Amazon Pay to WoCommerce as an additional payment method.
There are many setting options that come with the plugin. However, for additional features and performances, you will need to add WooCommerce extensions of your choice.
You can get these for free or at a price. There are two options for this; getting pro versions of WooCommerce, add-ons, and extensions, or using third-party WooCommerce plugins.
At this point, you can start thinking about adding your first e-commerce product! However, you still have one important step to complete that is choosing a Theme for your online store.
Step 3 – Choose a Theme for Your Store
One reason why WordPress CMS is popular for websites is the high availability of themes. WordPress themes come in all shapes and sizes. They offer different features and possibilities. It is also pretty easy to install and configure WordPress themes even without the need of hiring a WordPress developer.
You will need to be careful about which WordPress theme that you choose for your WooCommerce store. This is because you need a theme that supports e-commerce website in general and WooCommerce plugin in particular.

In order to get the best experience for your store, you need a WordPress theme that is optimized for WooCommerce. The theme must provide the needed store features, functionalities, and designs. It is through these features and functionalities that your store can only perform as needed.
The theme is the one that dictates the look of your store and the first impression that the customer gets when visiting the site for the very first time. It is therefore important to choose your theme wisely.
You may decide to use a free theme from the official WordPress theme repository or purchase one from popular WordPress theme developers such as ThemeForest. The WooCommerce official site recommends the use of Storefront theme, which is free or its many Child Themes.
Once you have decided on the best WooCommerce theme for your site, you need to install it and activate. Go through the initial theme configurations such that your website looks what you like and are happy with. At this stage, you are good to go and drive-test your e-commerce store. You can start your online store using only the free resources and scale up as your business gets more customers and revenue.
As you scale up, you can add WooCommerce extensions as you need. These may include the following;
- Membership
- Additional payment gateways
- Subscriptions
- Bookings
- Shipping
- And more.
Step 4 – Adding your first WooCommerce product
Adding a product is the last setup step for WooCommerce. There is nothing as exciting in WooCommerce setup like adding your first product. To do this, you need to go to your WordPress dashboard and locate the New Product tab. Once you click on this tab, you will get an opportunity to add your first product for your eCommerce shop.
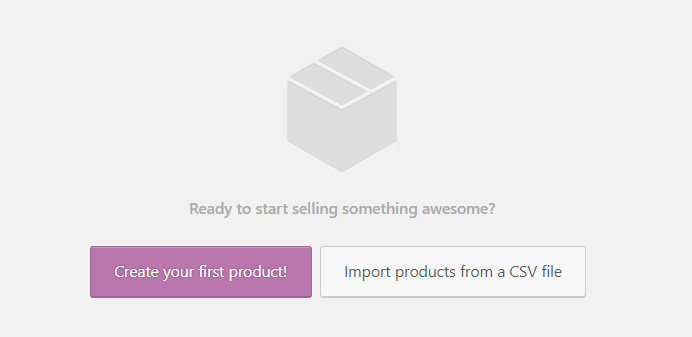
Once you click on the big purple button to create your new product, you will be taken to the WordPress editor. You need to do the following in order to post your first WooCommerce product successfully;
- Go to the product data section and tick what describes your product like is it virtual or downloadable

- Fill in the product weights and dimensions if applicable to your case. This you can do under the shipping section just below.

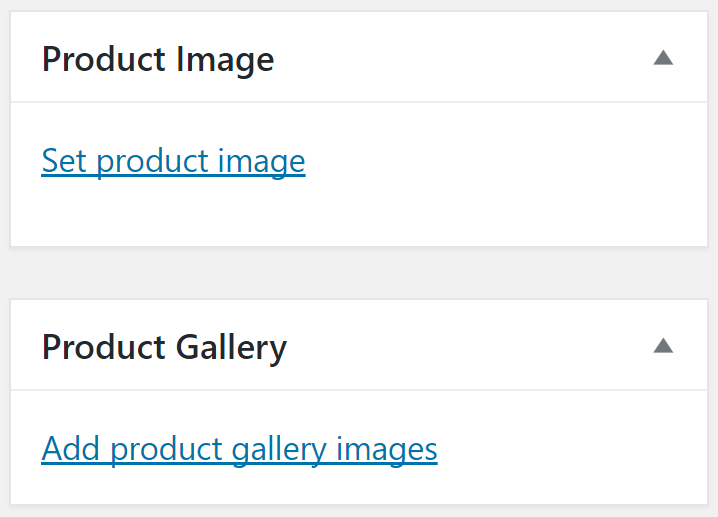
- Upload featured images. These are images that describe your product. Use product Image and Product Gallery for this purpose (Fixed featured image from Auto-cropping)
- Go to the product description section and describe your product bearing in mind that your customers need to understand the product clearly.
- Once you are comfortable that you have included all the information, hit the publish button.
In Conclusion
Learning how to set up WooCommerce is important if you want to create a successful e-commerce business empire. The process of setting up the plugin can be intimidating for new users. However, there is no known reason why a newbie cannot set up one. This is because you only need four steps;
- Choose an affordable Hosting
- Install WooCommerce
- Choose a Theme for Your Store
- Adding your first WooCommerce product
If this guide seems daunting, you can watch below video for better understanding.
If you have any questions about how to set up WooCommerce for the first time? Ask away in the comments section below.